# 3CX Chat User Guide
## Manage Customer Queries from Live Chat, WhatsApp, Facebook and SMS/MMS
The 3CX chat feature doesn’t only allow employees to chat and share files with each other, it also enables customer service agents to easily respond to queries sent via live chat, WhatsApp, Facebook and SMS/MMS. All from the same user-friendly interface.
## Receiving chat messages
Incoming chat messages will be routed to specific queues or extensions. The type of chat conversation is highlighted by a specific icon; Website live chat , WhatsApp  , Facebookand SMS/MMS . Internal chat messages are not specified by any icon.
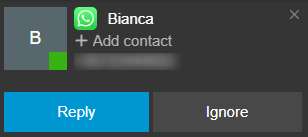
If an unknown contact sends a chat you will be prompted to **“Add contact”**, **“Reply”** or **“Ignore”**.Chats are visible to all agents who are in the assigned queue. The administrator can configure the polling strategy of the queue (e.g. the first agent to answer a chat, the top 3 agents, etc).Any agent can respond and see ongoing conversations until one agent takes ownership. As soon as an agent responds to an incoming chat, the chat automatically becomes theirs and no other agent can respond or see the conversation. Alternatively, do this:
- Click on the chat conversation, then click on the **“Take”**  icon in the top right corner. You are now the owner of this conversation; other agents no longer have access to it.
## Use quick response message templates
Respond to any chat message including live chat, WhatsApp, Facebook & SMS faster with message templates.
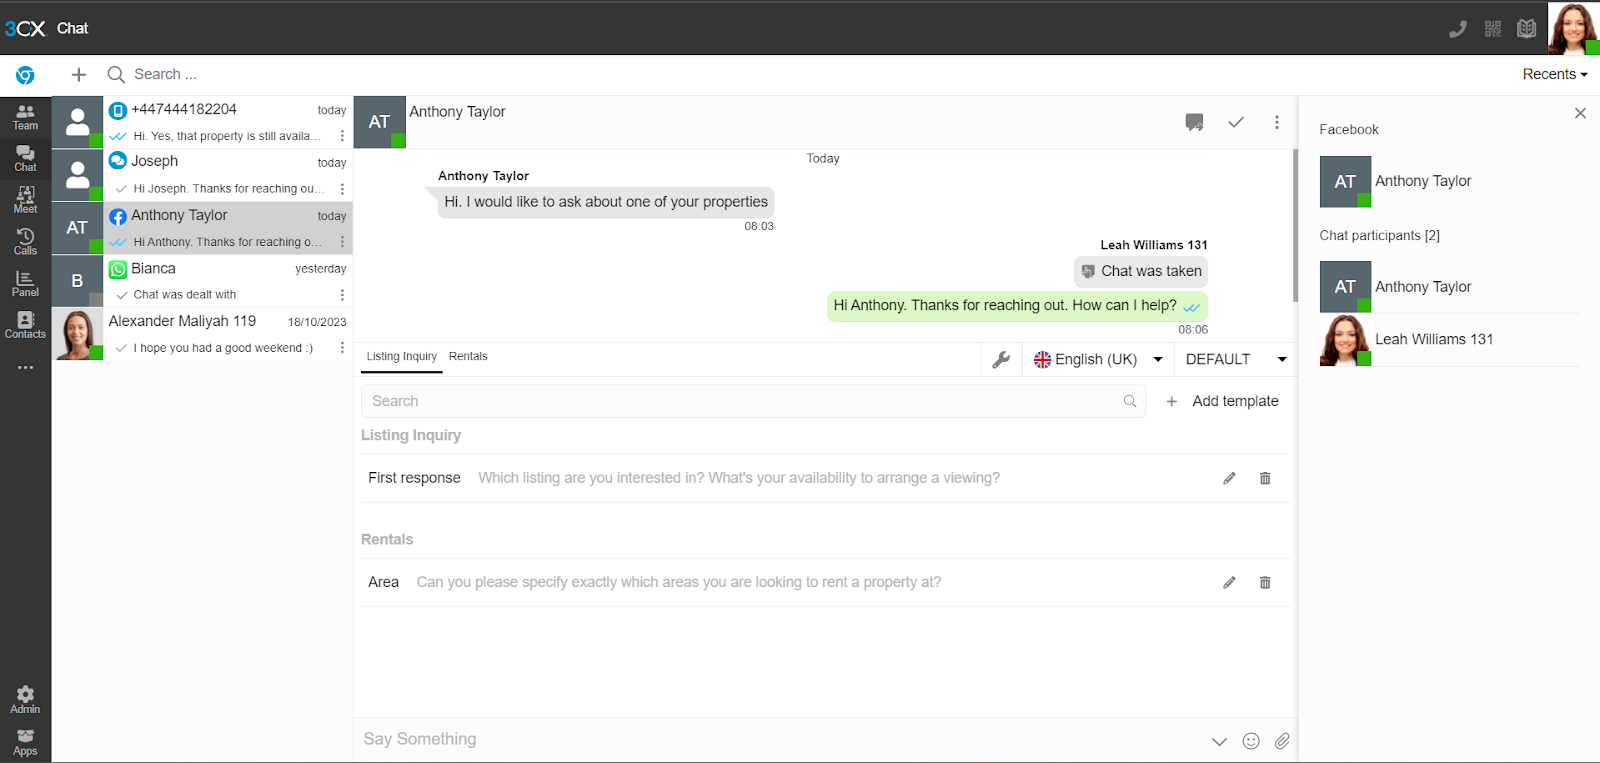
1. Click on the templates icon , in the bottom left corner of the chat panel to expand the templates. Only Managers, Group Owners and System Owners have the rights to manage chat templates.
2. Use the search bar, categories tabs or language drop-down option to filter the templates.
3. Click on a template and the text will automatically populate in your reply panel for you to edit or send.
## Transferring a chat
You may decide that the issue needs handing off to another agent.
1. While in a chat, click the **“Transfer”**  button in the top right.
2. Search the agent you want to transfer the chat to by name or extension number.
3. Click on the extension and the chat will be transferred. You are no longer able to view the conversation.
## Additional actionsThere are various chat actions available to help you efficiently manage your conversations and gather additional details about customers.
### View user informationDepending on the type of chat, you can view additional information.
1. Click on the menu  button in the top right corner.
2. Select **“Information”**.
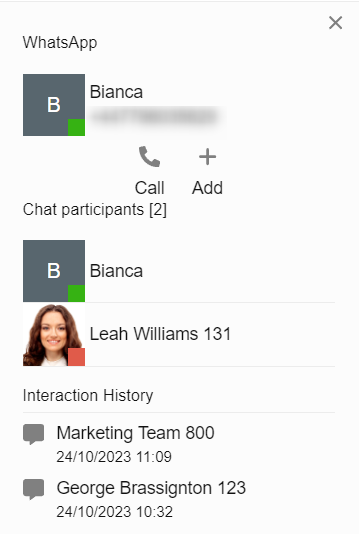
3. From here you can:
1. Email or add a live chat user as a contact.
2. Call or add a WhatsApp user as a contact.
3. Call, send SMS or add an SMS contact.
4. View the Interaction history of this user with all agents and departments.
### Send images and files
Send files by drag and drop or by clicking on the **“Attach document”** icon in the lower right corner. The following files are supported:
- Documents: Acrobat (PDF), MS Office (DOC, DOCX, PPT, PPTX, XLS, XLSX), plain and rich text (TXT, RTF).
- Images: JPG, PNG, GIF, BMP, WEBP, TIFF, and HEIF.
### Mark a chat as ‘Dealt with’
Once a chat conversation (excluding internal) has come to an end, click on the **“Dealt with”** button to close and archive the chat session.
If the chat is not marked as **“Dealt with”** and it has been **“Taken”** by an agent the next time the same customer sends a message, the new message will be delivered to the **“Taken”** agent’s inbox rather than following the configured routing to a group or queue.
### Block a user or end the chat session
Only available for website live chat, these functions will block a website user from contacting you via chat or close the chat session and notify the customer that the chat has ended.
1. Click on the menu  button in the top right of the main chat window.
2. Select **“End chat session”**. The user will be notified that the chat has ended.
3. Select **“Block anonymous user”**. The user’s IP will be blocked and they will no longer be able to access website live chat.
## Resolve/Archive a chatArchiving a chat removes the conversation from the main or **“Recents”** view.
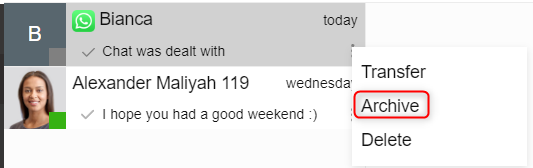
From the chat window, click the menu  and select **“Archive”**. The conversation will be removed from the main chat window. Access archived chats from the drop-down menu in the top right corner.
When in the archived chats list, click the menu  next to each chat to:
- Transfer the chat
- Unarchive
- Delete
## Chat settings
Go to **“Settings”**>**“Chat”** to configure:
- Show chat toaster - select to show chat toaster and/or web notifications
- Play chat notification - enable and select a personalized notification sound.Note: Custom chat notifications are available only for the 3CX Web Client/ Desktop app and the 3CX iOS app.